Do you want to learn or teach computer programming? Are you interested in making animations, video games, and graphical applications? Then Biksel is for you! Read on for a tour of its main features…
If you have a Raspberry Pi, check out the Biksel Quick Start Guide for Raspberry Pi to get Biksel up and running quickly on your Pi.
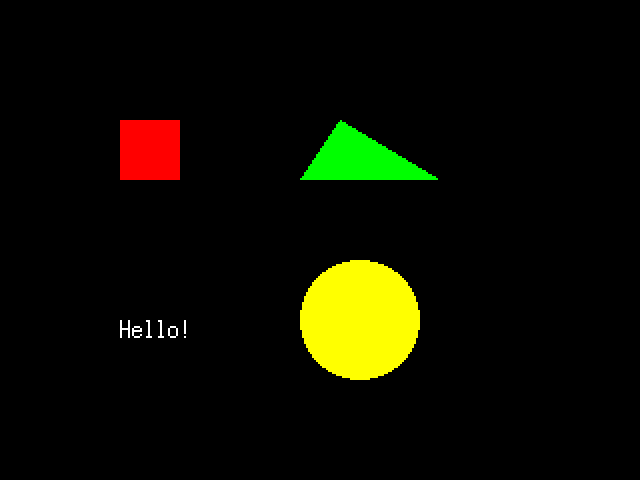
Biksel makes it easy to write programs in the C programming language. For example, the program shown below draws some shapes and text in a window:
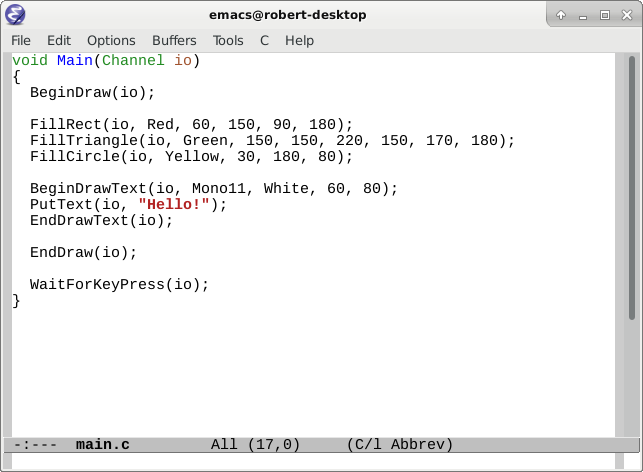
This screenshot is of GNU Emacs, Biksel's code editor. GNU Emacs is actually a powerful, general-purpose editor, but everything you need to know about using it to write Biksel programs is summarised in one page in the Biksel user manual.
To write a program with Biksel, you just drag and drop an
empty text file into the code editor, type in some code, then
press F7 to save, build, and run your program in a single
step. Simple, huh? (Actually there is one more thing you need to
know: the name of your text file must end in .c
and it
must be contained in a folder whose name ends
in .bik
. These extensions together allow the editor to
recognise your text file as a Biksel program.)
Here is the same program as above reproduced in a form that you may copy and paste. If you have Biksel installed, try it for yourself!
void Main(Channel io)
{
  BeginDraw(io);

  FillRect(io, Red, 60, 150, 90, 180);
  FillTriangle(io, Green, 150, 150, 220, 150, 170, 180);
  FillCircle(io, Yellow, 30, 180, 80);

  BeginDrawText(io, Mono11, White, 60, 80);
  PutText(io, "Hello!");
  EndDrawText(io);

  EndDraw(io);

  WaitForKeyPress(io);
}
Each line of code between the curly braces gives a command to
the computer. Commands for drawing graphics go
between the commands
and BeginDraw
. The EndDraw
channel is used to access Input/Output (I/O) devices such as the
screen, keyboard, mouse, and disk.
io
As you can see, the style of programming that we use in Biksel
is high-level and straightforward. It is a common misconception
that C is exclusively a low-level
language; actually it
can function as a fine high-level language too, and this is how
we use it in Biksel!
All of the built-in commands available for use in Biksel
programs are summarised in a handy
reference page in the Biksel user
manual. A second handy reference
page summarises all of the features of the C language that
you need to write Biksel programs. (Note: certain low-level
features of C, such as pointers
, are generally not used in
Biksel programs so are not included in this reference.)
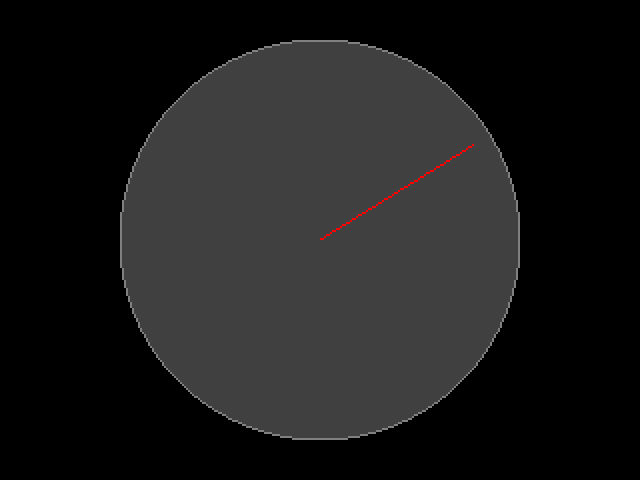
Here is another example of a Biksel program, a simple animation. It draws a clock with a hand that moves round once a minute:
void Main(Channel io)
{
  Float64 angle = Tau / 4;

  while (True) {
    BeginDraw(io);
    FillCircle(io, Gray(64), 100, 160, 120);
    DrawCircle(io, Gray(128), 100, 160, 120);
    DrawLine(io, Red, 160, 120,
             160 + 90 * Cos(angle), 120 + 90 * Sin(angle));
    EndDraw(io);

    WaitForTick(io);

    angle -= Tau / 3600;
  }
}
The constant
is an angle equal to one
full turn, thus Tau
is a quarter-turn,
etc. The command Tau / 4
waits for
precisely one sixtieth of a second.
WaitForTick
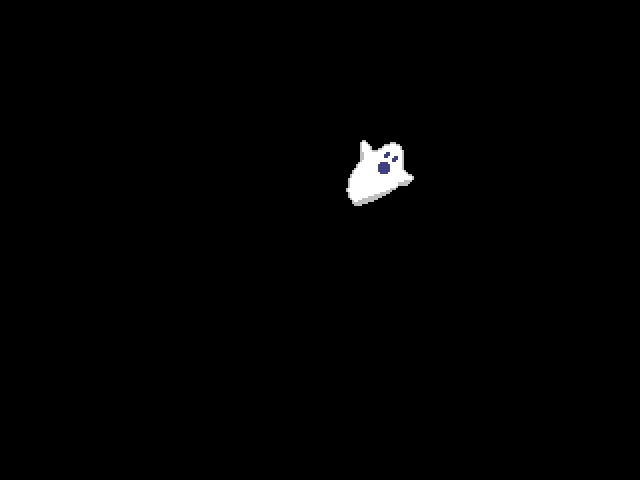
Biksel comes with its own pixel-art image editor, useful for making sprites. In this screenshot a sprite for a ghost character is being edited:
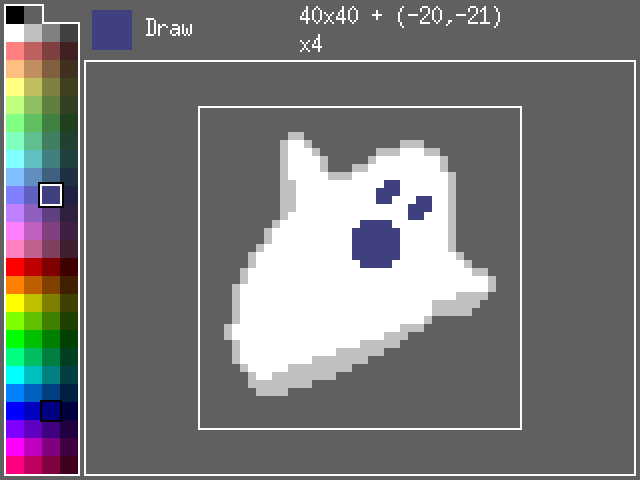
To start up the image editor you simply press F8 in the code editor.
Once in the image editor, the D and F keys select the Draw and
Fill tools respectively. The number keys 1 to 5 set the zoom
level. Note that of the colours in the palette, the second one on
the very top row is the transparent
colour. To save your
sprite to disk, press Ctrl+X followed by S, then type a file name
of your choice (preferably ending in .sprite
) and press
Return.
All of the features of the image editor are summarised in one page in the Biksel user manual.
The following shows a simple interactive program, the basics of a game. Here, a sprite (the ghost we just saw) moves about when the user presses the arrow keys on the keyboard:
void Main(Channel io)
{
  Channel sprite = LoadNewSprite("sprite", io, "ghost.sprite");

  Float64 x = 160;
  Float64 y = 120;

  while (True) {
    BeginDraw(io);
    FillFrame(io, Black);
    DrawSprite(io, sprite, x, y);
    EndDraw(io);

    WaitForTick(io);

    const Float64 distance = 2;
    if (IsKeyDown(io, KeyLeft)) {
      x -= distance;
    }
    if (IsKeyDown(io, KeyRight)) {
      x += distance;
    }
    if (IsKeyDown(io, KeyDown)) {
      y -= distance;
    }
    if (IsKeyDown(io, KeyUp)) {
      y += distance;
    }
  }
}
The command
loads a sprite
from a file on disk; in this example the file is
called LoadNewSprite
. (Note: the first piece
of text ghost.sprite
passed
to sprite
is just an arbitrary name
that Biksel will use to refer to this sprite in error messages.)
LoadNewSprite
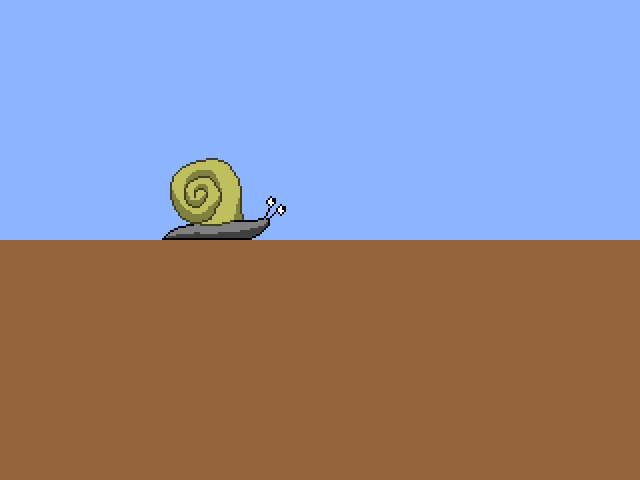
Handling input events such as mouse clicks is easy to do in Biksel. In this next example, a moving sprite changes direction when the user clicks the left mouse button:
void Main(Channel io)
{
  Channel sprite = LoadNewSprite("sprite", io, "snail.sprite");

  Float64 x = 50;
  Bool faceRight = True;

  while (True) {
    BeginDraw(io);
    FillFrame(io, Rgb(140, 180, 255));
    FillRect(io, Rgb(150, 100, 60), 0, 0, 320, 120);
    DrawSpriteTrans(io, sprite, faceRight ? Identity : FlipX,
                    x, 120);
    EndDraw(io);

    // Process events until next tick.
    while (True) {
      EventTag tag = WaitForEvent(io);
      if (tag == Tick) {
        TakeTickEvent(io);
        break;
      }
      else if (tag == MousePress) {
        MouseButtonEvent e = TakeMouseButtonEvent(io);
        if (e.button == MouseLeft) {
          faceRight = !faceRight;
        }
      }
      else {
        DiscardEvent(io);
      }
    }

    const Float64 distance = 0.5;
    if (faceRight) {
      x += distance;
    }
    else {
      x -= distance;
    }
  }
}
The command
is similar
to DrawSpriteTrans
(used in the previous
example to draw the ghost), with the added ability to apply a
transformation. When the snail should face to the right, we
specify DrawSprite
to draw the sprite as
normal. When the snail should face to the left, we
specify Identity
to flip it horizontally.
FlipX
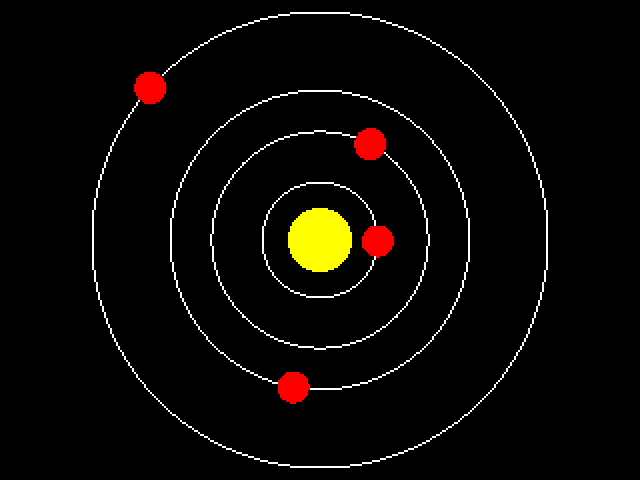
In this final example of the tour, we'll see how to use Biksel's main general-purpose data structure, the memory file. The concept is straightforward: a memory file is just like an ordinary file except that it is stored in the computer's random access memory instead of on disk. Memory files cease to exist automatically when your program stops running, so you don't have to manually delete them. You can write any data you like into a memory file, and then read it out again when you need it.
In the program below, we create a memory file and write some data into it describing the planets of the Solar System. We then run an animation of the Solar System in which the speeds of the planets and their distances from the Sun are realistically to-scale, calculated using the data in the file and Kepler's Laws:
void Main(Channel io)
{
  // Distances of the rocky planets from the Sun, in millions of
  // kilometres (source: solarsystem.nasa.gov).
  //
  // distances :: ListOf Float64
  Channel distances = NewFile("distances");
  Open(distances, Write);
  WriteListTag(distances, Cons);
  WriteFloat64(distances, 57.9);  // Mercury
  WriteListTag(distances, Cons);
  WriteFloat64(distances, 108.2); // Venus
  WriteListTag(distances, Cons);
  WriteFloat64(distances, 149.6); // Earth
  WriteListTag(distances, Cons);
  WriteFloat64(distances, 227.9); // Mars
  WriteListTag(distances, Nil);
  Close(distances);

  const Float64 scale = 0.5;
  const Float64 speed = 15;
  Float64 t = 0;

  while (True) {
    BeginDraw(io);
    FillFrame(io, Black);

    // Sun
    FillCircle(io, Yellow, 16, 160, 120);

    // Planets
    Open(distances, Read);
    while (ReadListTag(distances) == Cons) {
      Float64 r = ReadFloat64(distances);
      // Kepler's Third Law
      Float64 angle = speed * Pow(r, -1.5) * t;
      DrawCircle(io, White, scale * r, 160, 120);
      FillCircle(io, Red, 8,
                 160 + scale * r * Cos(angle),
                 120 + scale * r * Sin(angle));
    }
    Close(distances);

    EndDraw(io);

    WaitForTick(io);
    t++;
  }
}
The comment
describes the format that we want to use for the data in the
file: a list of floating-point numbers. In a format of this kind,
each element of the list is preceded by a distances :: ListOf Float64tag
value
(this is actually just an alias for the
integer value 1). Another tag value Cons
(the
integer value 0) marks the end of the list. The purpose of these
tags is to enable someone reading the file to determine where the
list ends: when you see a Nil
you know that
there is another element to read, whereas when you see
a Cons
you know that there are no more
elements. We see this principle in action in the program's
inner Nilwhile
loop which reads over the data in the file
and draws the planets.